
Renowned for their durability and reliability, Carver Clamps have become a trusted name in workshops across the UK.
Whether you’re working on structural frames, automotive components, or custom fabrications, using welding clamps properly is essential for getting the job done right.
Here, we break down the correct use of Carver Welding Clamps, ensuring you get the best performance and longevity from your inventory.
Why Use Welding Clamps?
Before diving into usage, let’s talk purpose. Welding clamps serve one critical function: to hold your workpiece securely in position. They prevent movement during welding, ensuring proper joint alignment and reducing the risk of distortion caused by heat.
Carver Clamps models provide:
Step-by-Step: Proper Use of Carver Welding Clamps
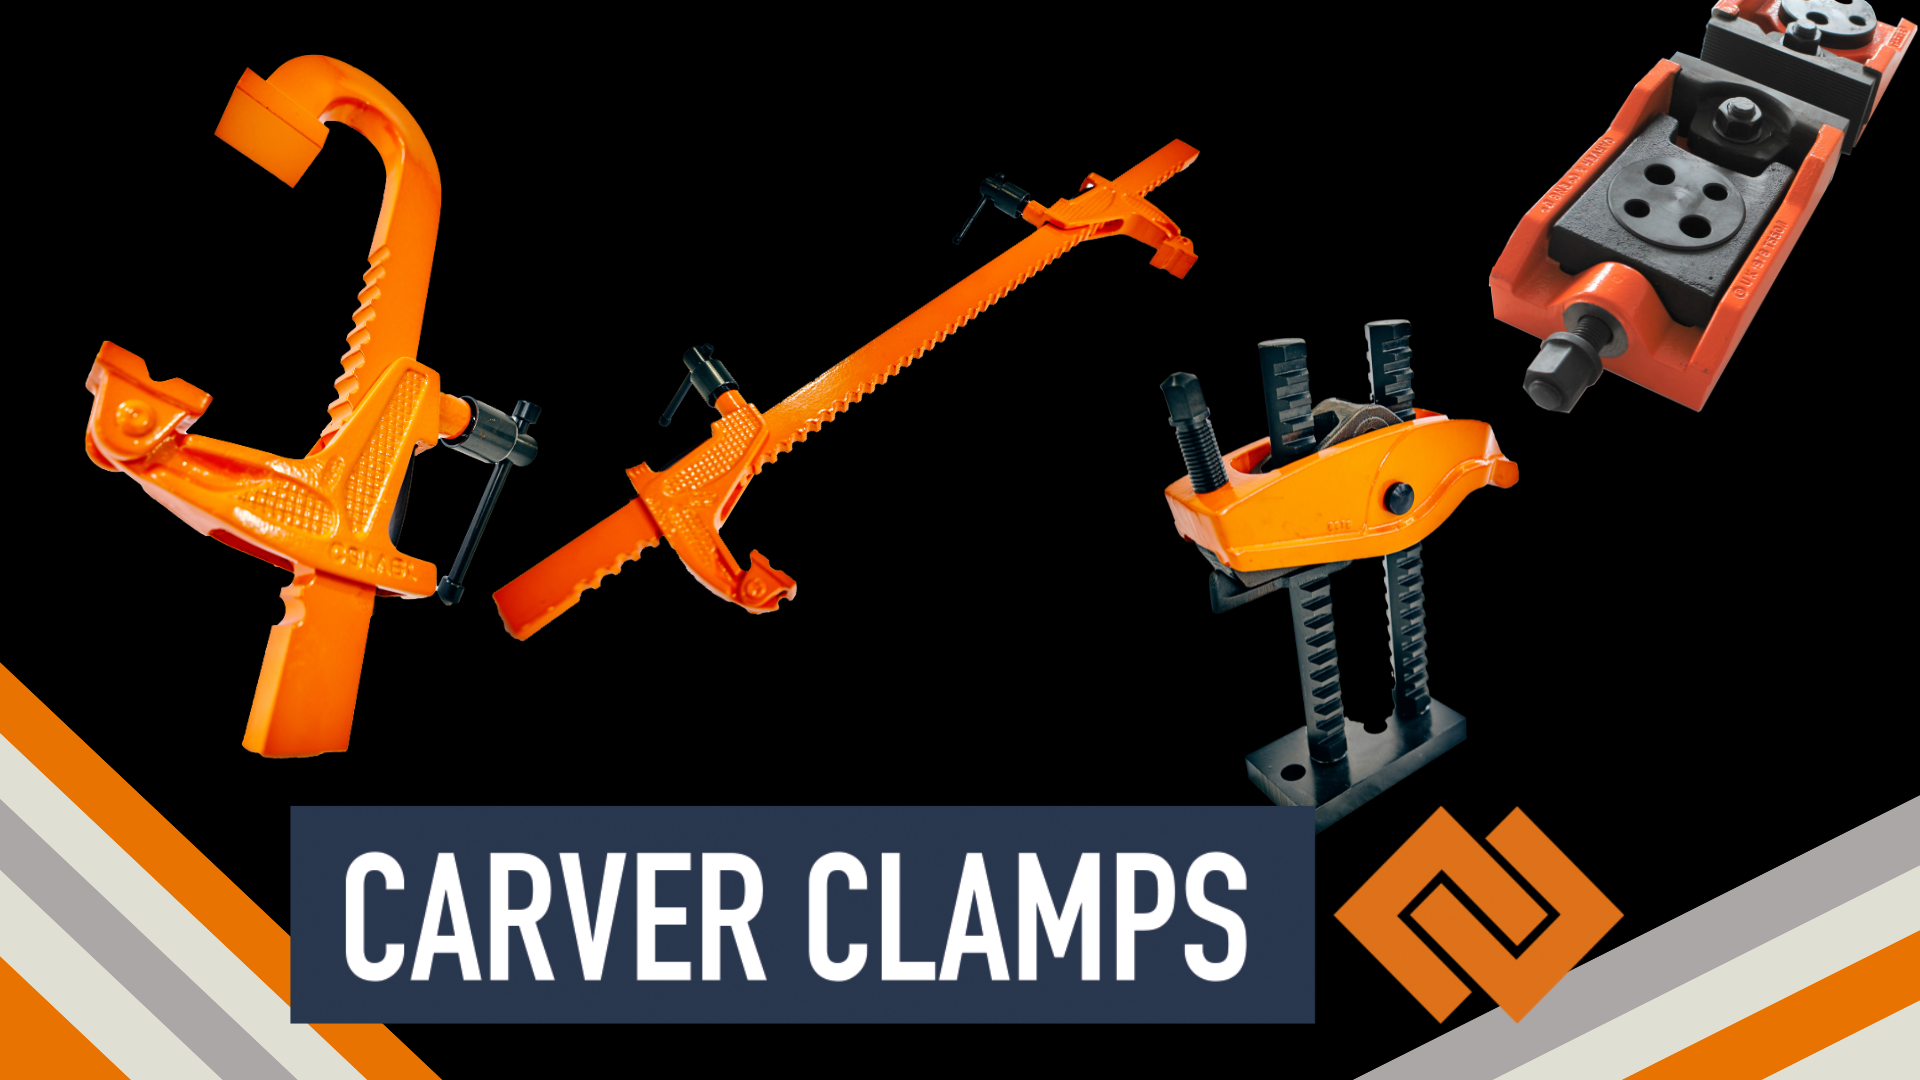
1. Select the Right Clamp for the Job
Carver offers various clamp types, including:
Tip: Choose a clamp that matches the scale, shape, and access points of your workpiece
2. Prepare the Surfaces
Ensure all surfaces are clean and free from debris, rust, or oil. A poor surface can compromise clamping force and weld integrity
3. Position Your Workpiece
Align your metal components exactly where they need to be welded. Remember, the clamp holds – it doesn’t adjust. Precision in placement is key before you begin tightening
4. Apply the Clamp Correctly
Tip: Avoid using clamps on painted or coated surfaces unless the coating is to be removed
5. Double-Check Alignment
Once clamped, inspect the angles and levels with a square or straight edge. Small misalignments may seem insignificant, but can lead to a potentially costly rework
6. Tack Weld First
Before running a full weld, apply tack welds to hold everything in place. This allows you to make minor adjustments if needed
7. Release and Inspect
Once welding is complete and the piece has cooled slightly, release the clamp slowly to avoid sudden shifts. Check for any distortion or misalignment.
Maintenance Tips for Carver Clamps
To ensure consistent performance of your Carver Clamps:
Did you know? Carver Clamps come with a lifetime warranty – but don’t let that stop you from conducting thorough maintenance
Why Fabricators Trust Carver
Carver Welding Clamps are designed for high-pressure applications, repeatable setups, and long-term durability – making them a workshop essential. Whether you’re in structural steel, rail, automotive, or bespoke fabrication, using these clamps correctly ensures safer working, better-quality welds, and less time spent on rework.
Ready to Upgrade Your Setup?
Explore the full range of Carver Welding Clamps or contact our team for expert advice on clamping solutions tailored to your fabrication needs.